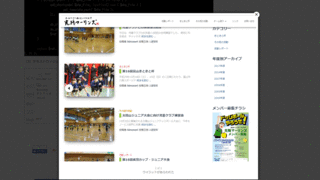
Slimbox2をBoxerに変更

モーダルウィンドウを作成するLightbox系のjQueryプラグインを、Slimbox2から、Boxerに変更しました。
Slimbox2は、軽量で設置も簡単だったのですが、スマートフォンなどのユーザーインターフェイスを提供していない(そもそも、そういったデバイスにモーダルウィンドウが必要かどうかも検討しましたが)ため、レスポンシブ対応のLightbox(Boxer)に変更しました。
ただし、Boxerは開発を終了しており、Formstoneのライブラリ群の中のLightboxとして開発が継続中ですが、ここではBoxerについて解説します。
1.ダウンロードサイトからファイル群をダウンロードし、任意のフォルダーへアップロードします。
2.ヘッダで、jqueryと、cssファイル、スクリプト本体を記述。
<head>
(中略)
<link href="/boxer-master/jquery.fs.boxer.css" rel="stylesheet">
<script src="//ajax.googleapis.com/ajax/libs/jquery/1.12.4/jquery.min.js"></script>
<script src="/boxer-master/jquery.fs.boxer.js"></script>
</head>
3.body終了タグ直前に次のコードを記述
<script type="text/javascript">
$(".boxer").boxer();
</script>
</body>
4.画像に対して、data-galleryを指定。また、と、同じ要素を指定すれば、ギャラリーでの表示もできます。
<a class="boxer" data-gallery="gallery" href="/music/img/2017-12-0401.png" title="テキストウイジット"><img alt="テキストウイジット" src="/music/assets_c/2017/12/2017-12-0401-thumb-320xauto-3111.png" width="320" height="240" class="mt-image-none" /></a>なお、私の場合、MovableTypeで画像をアップロードしたさい、自動でdata-gallery="gallery"を指定するように、Image.pm(402行目あたり)を書き換えています。
$text = sprintf(
    '<a class="boxer" data-gallery="gallery" href="%s" title="%s"><img alt="%s" src="%s" %s %s /></a>',
    MT::Util::encode_html( $asset->url ),
    MT::Util::encode_html( $asset->label ),
    MT::Util::encode_html( $asset->label ),
    MT::Util::encode_html( $thumb->url ),
    $dimensions,
    $wrap_style,
);
            }


コメント